Skip to content
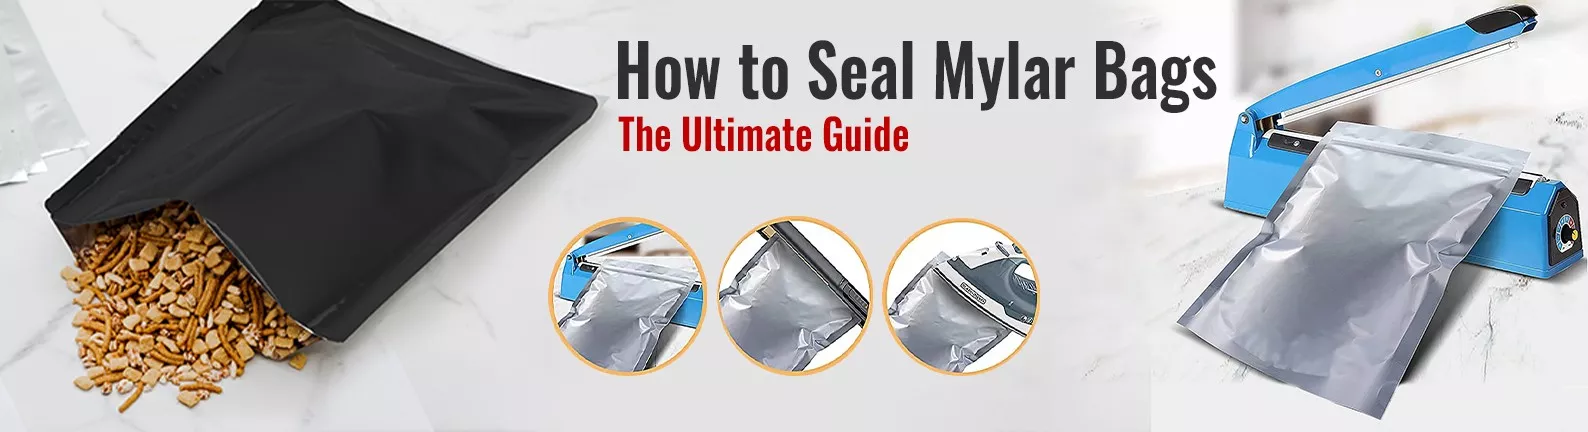
Mylar bags end up being the trending packaging for many industries these days. Well, the reason is obvious; these bags are great for long-term storage of almost all types of products. However, to properly store any products in these bags, of course, we need to seal them. So, how to seal Mylar bags? Let’s find out from the ultimate guide below!
The Importance of Sealing Mylar Bags Properly
Do note that properly sealing your Mylar Bag is highly essential. Why?
Because it affects the long-term storage and preservation of your items inside.
So, here are some equipment and tools you need!
The Right Mylar Bags
Get the appropriate size and thickness of Mylar bags for your food items.
Oxygen Absorbers
Get the right capacity of oxygen absorbers for your bag size.
A Heat Source to Seal the Bags
There are many tools you can choose to apply heat to Printed Mylar bags, including:
- A hair straightener
- A clothes iron
- An impulse sealer
- A vacuum sealer
The Food You Want to Store in Mylar Bags
Remember that you can store a variety of dry foods that have 10% or less moisture content in mylar bags with oxygen absorbers.
A Permanent Marker to Label Your Bags
You should use a permanent marker to write on your bags what food they contain when you seal them, and when they expire.
Before the Sealing Process
For sure, you need to follow some preparation steps before applying heat to your Mylar bags.
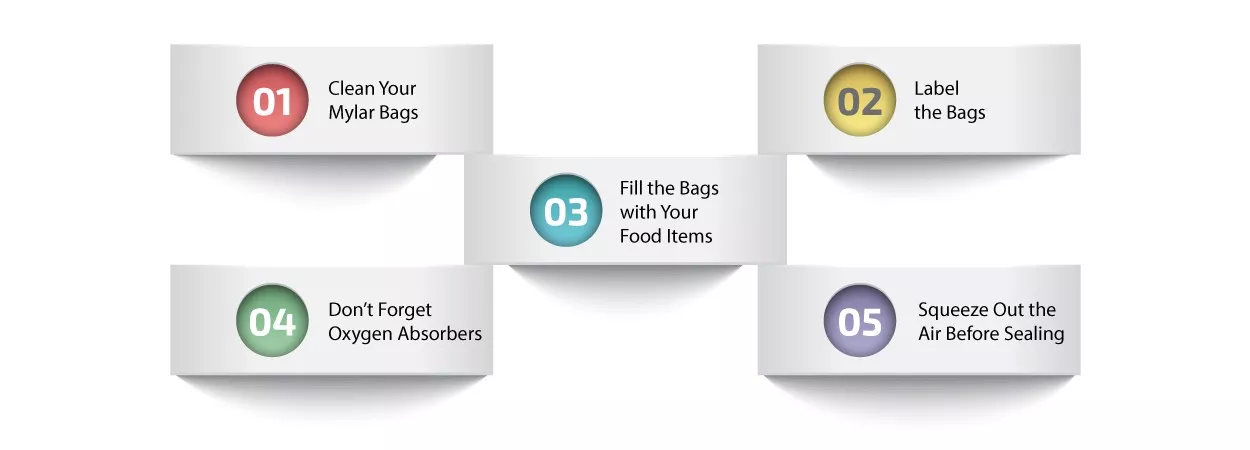
Clean Your Mylar Bags
Make sure that your mylar bags are clean before you will fill the food items inside.
Label the Bags
Yes, write the name of the food, the date of sealing, and the expiration date if applicable.
Fill the Bags with Your Food Items
Now, you can fill the Mylar bag. Remember to leave about 3-4 inches at the top of the bag for sealing.
Don’t Forget Oxygen Absorbers
You will need at least 100cc of oxygen absorption capacity per quart of storage.
Squeeze Out the Air Before Sealing
You can do this by pressing down on the bags with your hands.
Let’s Seal Your Mylar Bags!
Well then, now that your Mylar bags are ready, let’s get into the sealing techniques!

Heat Sealing
As the name suggests, the heat sealing process uses heat and pressure to create a tight seal. This way, heat-sealing mylar bags can preserve the freshness and quality of the food inside.
For heat sealing, you can choose to use a clothes iron or hair straightener.
So, here are the steps!
- Place the bag flat on an ironing board
- Gently squeeze out any excess air
- Set a clothes iron to medium-high heat
- Once the iron is hot, carefully run the tip of the iron over the top 1 in (2.5 cm) of the bag once
- Carefully slide the iron across the length of the bag to seal it
Impulse Sealing
Here is another technique to seal a mylar bag; impulse sealing. So, an impulse sealer is basically a device that uses a pulse of electric current to heat. Also, it will fuse the edges of mylar bags. As a result, it will create an airtight seal.
How to seal your mylar bags with an impulse sealer?
- Fill your mylar bags with the food items
- Leave space at the top for sealing
- Add oxygen absorbers
- Plug in the impulse sealer
- Adjust the temperature
- Set up the time according to the manufacturer’s instructions
- Place the open edge of the mylar bag between the sealing bars of the impulse sealer and press down
- The impulse sealer will melt and seal the bag
- You can seal the entire length of the bag
- Check out and make sure there are no gaps or wrinkles in the seal
Vacuum Sealing
Here are the Proper techniques to vacuum seal your mylar bags!
- Plug in the vacuum sealer and adjust the temperature and time settings according to the manufacturer’s instructions
- Different thicknesses of mylar bags may require different levels of heat and time to seal properly.
- Place the open edge of the mylar bag over the vacuum port of the sealer and press the start button
- The vacuum sealer will extract the air from the bag and then heat seal it automatically
- Then, finish sealing the other side of the bag
- Make sure there are no gaps or wrinkles in the seal
Ziplock Sealing
How about some steps for a secure ziplock seal?
- Prepare the heat source and let it heat up
- Adjust the temperature and time settings
- Place the ziplock seal over a hard and flat surface
- Apply pressure with the heat source along the entire length of the ziplock seal
- The heat will melt and fuse the mylar material
- Cool the seal down
Are There Any Best Practices for Sealing Mylar Bags?
In brief, there is no best sealing technique for mylar bags. Instead, all the different techniques surely have advantages and disadvantages.
Overall, it depends on some aspects like:
- The type and size of the bag
- What type of food do you want to place inside the bag
- Type of the heat source
How to Handle Common Issues and Solutions?
Well, indeed, there are various sealing techniques you can choose. However, there might be some common issues when it comes to sealing mylar bags. But, don’t worry, there are some solutions you can get!
Do Not Overstuff Your Mylar Bag
If you overstuff mylar bag with too many food items, this can create bulges or wrinkles in the bag. Then, it will surely interfere with the heat seal process. Even worse, it can also reduce the amount of oxygen absorbers needed, which can affect the shelf life of the food inside. Additionally, you can also read a blog which is about the list of food items that are stored in mylar bags.
What is the solution?
leave some space at the top of the bag for sealing. Also, you should use the appropriate amount of oxygen absorbers for the size and type of mylar bag.
Sealing with the Wrong Temperature, Time, or Pressure Settings
Of course, different types and thicknesses of heat seal materials require different levels of heat, time, and pressure. For example, if you have no idea how to put the settings, it can result in weak, incomplete, or damaged seals.
What’s the solution for this?
You should check the manufacturer’s instructions. Or else, you can test a sample material to get the settings for your heat seal material.
Stopping Short of Sealing the Entire Length
If you stop short of sealing the entire length, it will create gaps or leaks in the seal. Moreover, it can further compromise the integrity and safety of your Mylar bags.
The best solution is to seal the entire edge of the bag with a consistent and uniform pressure and temperature.
Safety Considerations
Now, we know that sealing mylar bags is a process that involves applying heat and pressure. Thus, there are, indeed, some safety considerations to note.
- Avoid food spoilage or contamination
Make sure that Mylar bags and your food are clean and dry.
- Prevent burns or injuries
Put on gloves when you are sealing your Mylar bags. Also, you must use a hard and flat surface.
Wrapping Up
To seal Mylar bags properly, you can go with impulse sealing, heat sealing, vacuum sealing, or ziplock sealing. In addition, properly sealing Mylar bags is highly essential for long-term storage. Plus, to maintain seal integrity, consistent pressure and temperature are required.
To get high-quality Mylar bags, you can rely on mylar packaging suppliers like The Custom Mylar Bags!
FAQs
How to properly heat seal a Mylar bag?
To properly heat seal a Mylar bag, you can follow these steps:
- Place the bag flat on an ironing board
- Gently squeeze out any excess air
- Set a clothes iron to medium-high heat
- Carefully run the tip of the iron over the top 1 in (2.5 cm) of the bag
- Slide the iron across the length of the bag to seal it
Can I use a regular household iron for heat-sealing Mylar bags?
Yes, you can use a regular household iron to heat-seal Mylar bags.
Is there any difference between impulse sealing and heat sealing for Mylar bags?
Yes, the difference between impulse sealing and heat sealing for Mylar bags is that impulse sealing uses an impulse sealer device to heat Mylar bags. Meanwhile, heat sealing uses a constant source of heat to seal the bags.
What causes uneven sealing in Mylar bags?
- Wrong temperature and time settings of the heat source
- Different thicknesses of Mylar bags
- Inadequate pressure and consistency of the heat source
- Overstuffing your bags
What is the recommended temperature for heat-sealing Mylar bags?
On average, you must set the heat sealer between 250°F (121°C) and 375°F (190°C). With these temperatures, you can get a secure and airtight seal without damaging the bag.
Can I reseal a Mylar bag if the initial seal is not satisfactory?
Yes, you can reseal a Mylar bag if the initial seal is not satisfactory. However, you need to cut off the initial seal with scissors or a knife. This way, you can get enough space at the top of the bag for resealing.